Introduction:
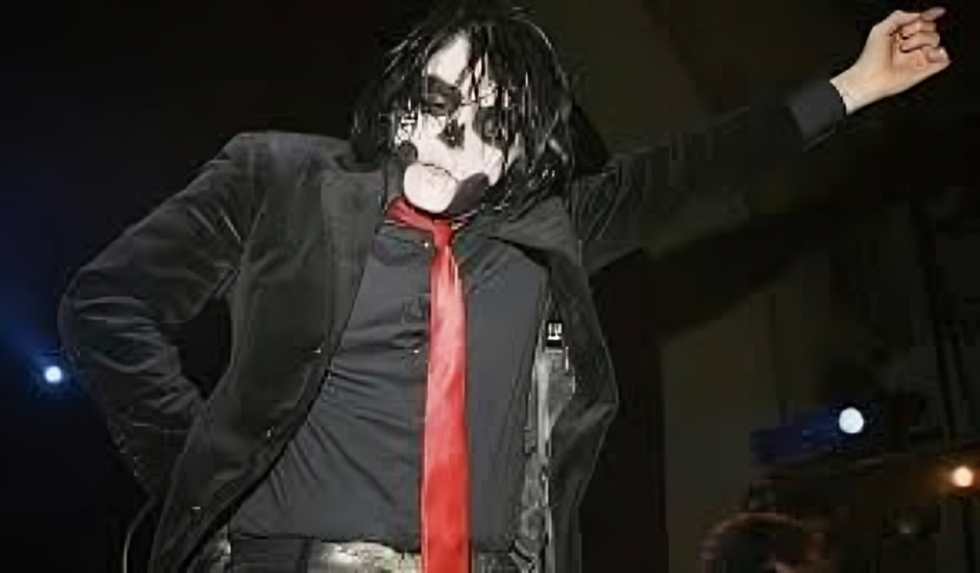
Skeleton makeup is a classic look, especially popular during Halloween. With the right tools and techniques, anyone can create a amazing skeleton face. This guide will bring you through the procedure in straightforward, easy-to-follow steps.
Why Choose Skeleton Makeup?
Skeleton makeup is timeless. It’s flexible, allowing for both scary and stylish definition. Plus, it’s fun to create!
Gather Your Materials.
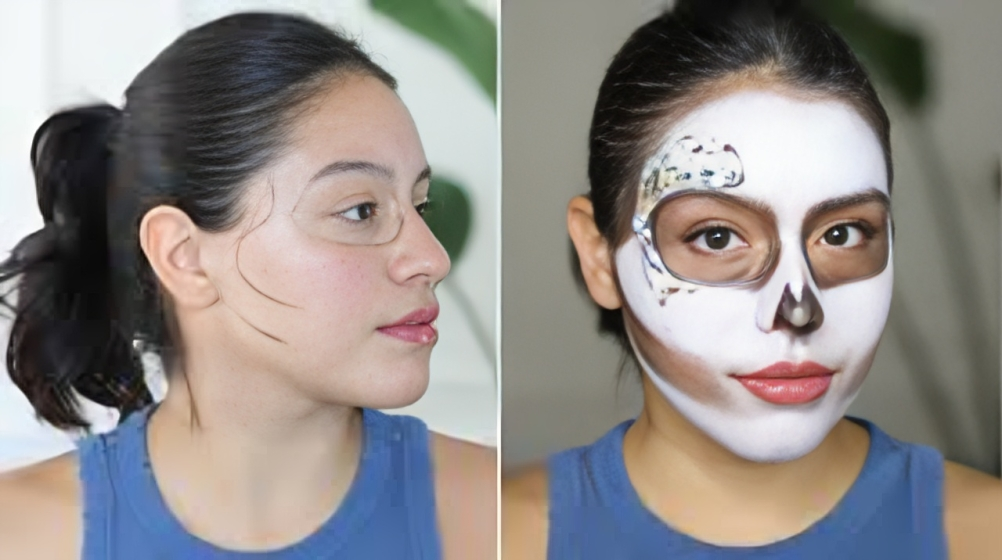
Before you start, make sure you have all the useful materials. Here’s a basic list:
- White face paint
- Black face paint
- Makeup brushes and sponges
- Setting powder
- Black eyeliner
- Makeup remover
Preparing Your Face.
Start with a clean, dry face. Wash your face with a light cleanser and pat it dry. Apply a mild moisturizer to keep your skin hydrated. This will assist the makeup go on smoothly.
Applying the Base.
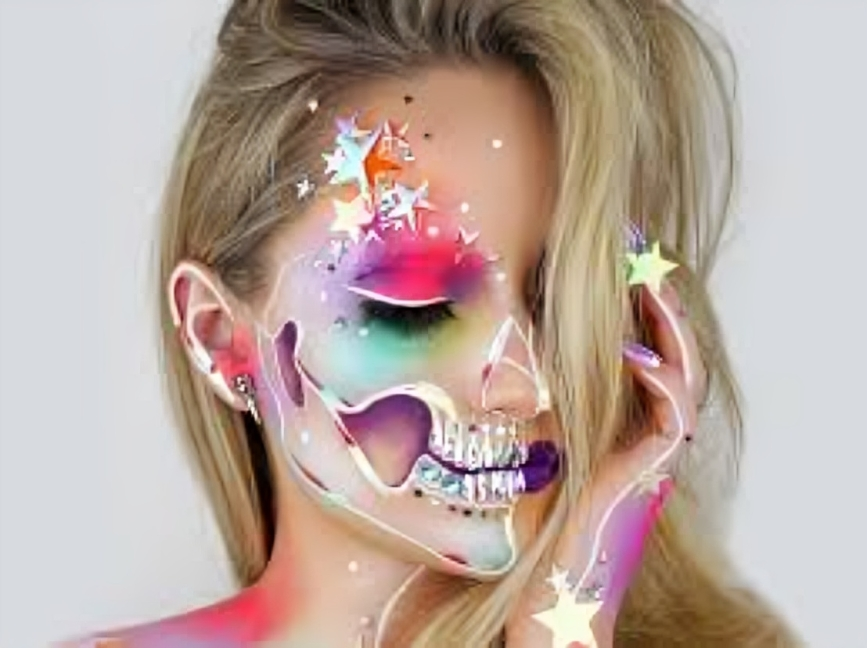
- White Face Paint:
Use a makeup sponge to apply white face paint all over your face. Cover every part evenly. This will be the basis of your skeleton look.
- Set with Powder: Lightly dust your face with setting powder to keep the paint in place.
Creating the Skeleton Features.

- Hollow Cheeks:
Use a black face paint or black eyeshadow to create hollow cheeks. Find the hollows of your cheeks by sucking them in, then fill in this area with black. Mix the edges for a natural look.
- Nose:
Paint a small, upside-down heart shape on the tip of your nose with black face paint. This will be the skeleton’s thin hole.
- Eyes: Use black face paint to create large, hollow eye sockets. Start from the inner corners of your eyes and stretch surface. Cover your eyelids and under-eye area completely. Blend the edges to soften the look.
- Mouth and Teeth: Draw a line from the corners of your mouth towards your ears using black eyeliner. This will be the skeleton’s mouth. Draw vertical lines along this line to create the illusion of teeth. Verify that the lines are spaced equally.
Adding Details.

- Contour and Shadows:
Use black face paint or eyeshadow to add deepness and size. Contour around your temples, forehead, and jawline. Mix well for a realistic effect.
- Enhance the Teeth:
Add small black triangles on each tooth line to make them look more defined and realistic.
- Neck and Collarbones:
Stretch the makeup down your neck and collarbones for a complete look. Use black and white paint to copy the structure of bones.
Final Touches.
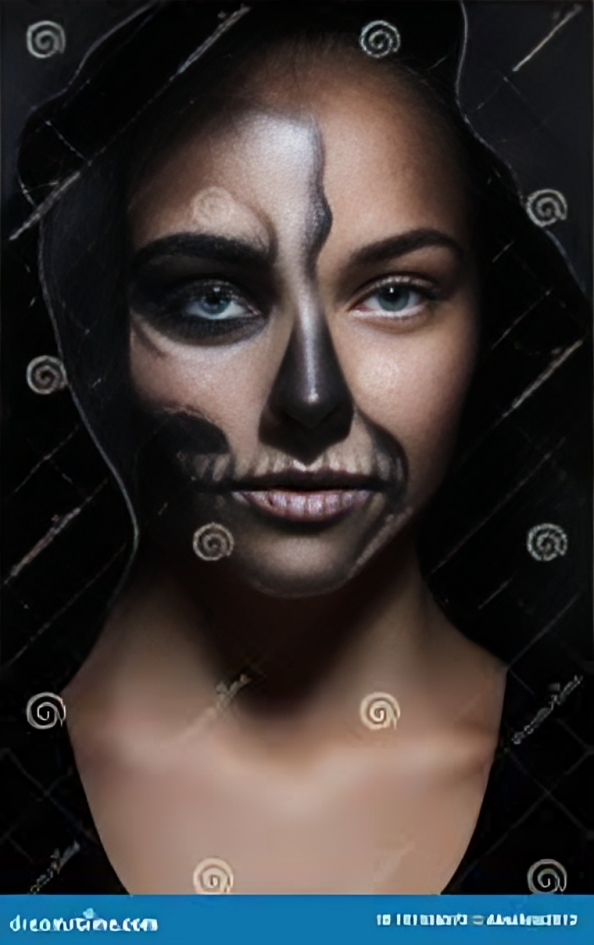
- Setting Spray: To keep your makeup in place, apply a setting spray. This will assure it stays put throughout the event.
- Accessories: Consider adding a black hooded cape or a skeleton costume to upgrade your look. Facility can make a big difference.
Removing the Makeup.
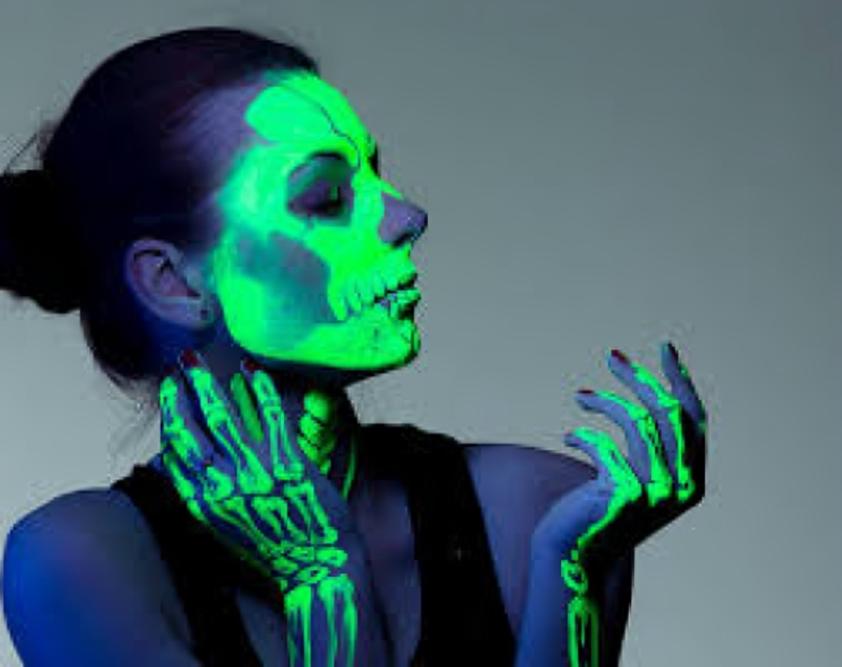
When it’s time to remove your skeleton makeup, follow these steps:
- Use a Makeup Remover: Apply a gentle makeup remover to break down the face paint. Wipe off the makeup with a cotton pad or a soft cloth.
- Cleanse:
Wash your face with a light cleanser to remove any remaining makeup.
- Moisturize: Apply a hydrating moisturizer to comfort your skin.
Tips for Success.
- Practice: Practice your skeleton makeup a few times before the big event. This will assist you in becoming accustomed to the methods.
- Use Quality Products:
Invest in good quality face paints and brushes. They can make a great difference in the final look
- Be Creative:
Don’t be scared to add your own twist. Skeleton makeup can be customized with glitter, gems, or additional colors.
Conclusion:
Skeleton makeup is a fantastic way to showcase your creativity. With the right tools and techniques, you can create a amazing look that’s sure to impress. Remember to practice, use quality products, and have fun with the process. Happy Halloween!
LEARN MORE ABOUT THE : https://thebeautyfit.com/2024/07/12/the-ultimate-guide-to-creating-your-perfect-makeup-bag/

